

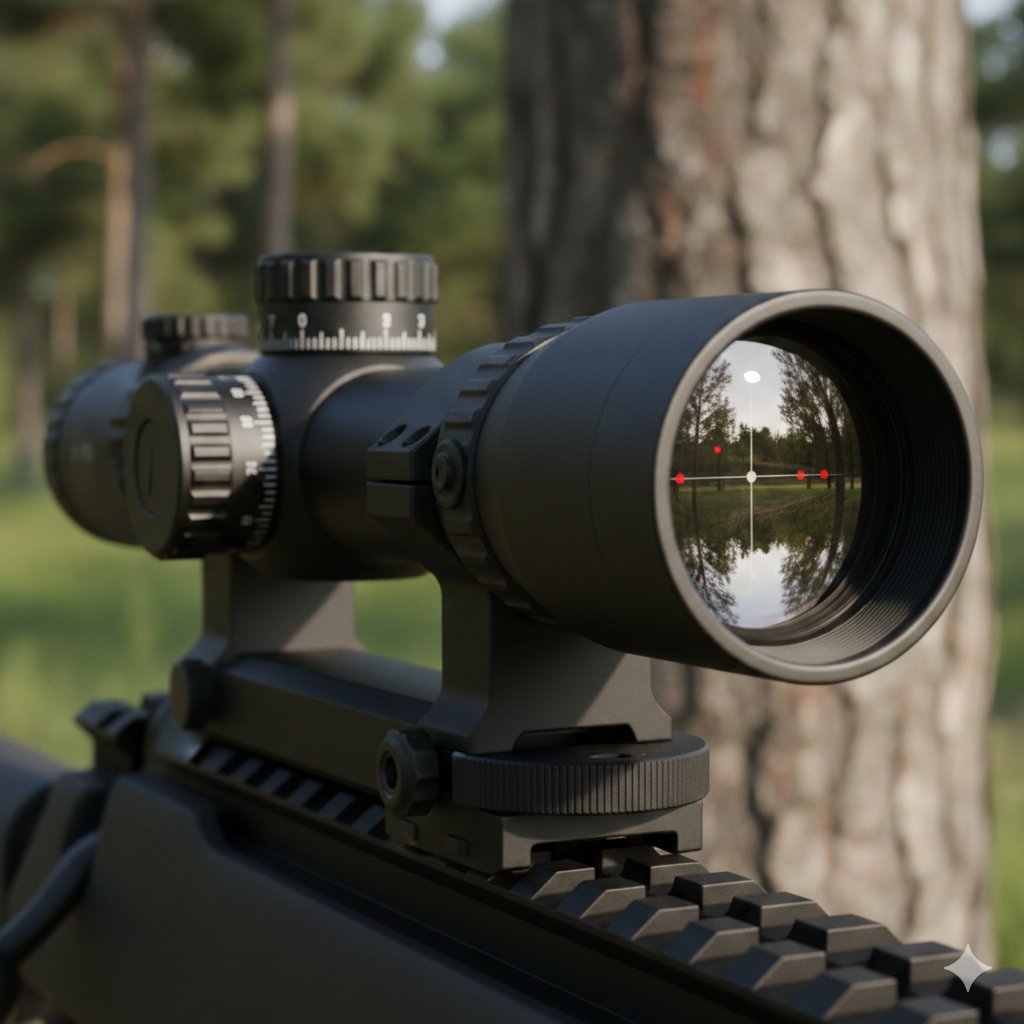
If you’ve been hunting at night or doing any kind of varmint control after dark, you already know how frustrating it can be to rely on traditional night vision. You’re squinting, adjusting, and still not getting a clear picture. That’s exactly where a thermal scope changes everything — and not in a subtle way. I’ve talked to a lot of hunters over the years. Some were skeptical at first. “It’s just expensive tech,” one guy told me. Six months later, he was asking which thermal rifle scope I’d recommend for hog hunting. That’s usually how it goes. This article is going to break things down in plain language — no jargon overload, no fluff. Just what you need to know before you spend your money. What Is a Thermal Scope, Exactly? A thermal scope detects heat — not light. Every living thing gives off heat, and a thermal scope picks that up and turns it into a visible image on screen. A deer standing still in tall grass at midnight? You’ll see it. A coyote moving through brush at 200 yards? You’ll see that too. This is fundamentally different from a night vision scope, which still needs some ambient light to work. A thermal scope works in total darkness, through light fog, and even in dusty conditions. It doesn’t care if there’s a moon out or not. The image won’t look like a regular daytime scope image. It shows heat signatures — usually in color palettes like white-hot, black-hot, or various color gradients depending on the model you choose. You get used to reading it fast, and honestly most people prefer it after a couple of outings. Why Hunters and Tactical Shooters Are Switching Let’s be real — the price tag on a quality thermal rifle scope used to be the biggest barrier. A few years back, you were looking at $3,000 to $5,000 minimum for anything worth using in the field. That’s changed significantly. You can now find solid options that won’t make your bank account cry. But price aside, the performance gap between thermal and traditional optics at night is massive. Here’s what people are actually experiencing in the field: Night hunting becomes dramatically more effective. Hogs, coyotes, and other nocturnal animals that typically work the fields after dark are no longer invisible. You’re not guessing at shapes in the dark — you’re seeing clear heat signatures and making confident shots. You spot game you’d normally walk past. During early morning or late evening hunts, thermals pick up animals that blend perfectly into their background visually. Bedded deer in a field edge, predators sitting motionless — they show up because they’re warm. Safety improves. You can positively identify what’s behind and around your target before you take a shot. That matters a lot What to Look for in a Thermal Rifle Scope Not all thermal scopes are created equal. Here’s what actually matters when you’re shopping: Resolution This is probably the single biggest factor in image quality. Sensor resolution of 384×288 is decent for closer ranges. If you’re shooting past 300 yards regularly, you want 640×480 or higher. The image will be sharper, and target identification will be much easier. Refresh Rate Look for at least 30Hz refresh rate. This means the image updates 30 times per second, which keeps things smooth when you’re tracking moving targets. Some budget options run at 9Hz or 25Hz — you’ll notice the choppiness, especially on running animals. Detection Range vs. Recognition Range Manufacturers love to advertise detection range — how far away the scope can sense a heat signature. But what you really care about is recognition range — how far away you can tell that a shape is a deer and not a coyote, or a person and not an animal. These numbers are always smaller. Pay attention to both. Battery Life You don’t want your thermal scope dying mid-hunt. Good units give you 4 to 8 hours on a charge. Some have removable batteries so you can carry a spare. Always check this before buying. Recoil Resistance Your thermal rifle scope needs to handle the recoil of your actual rifle. If you’re running a .308 or .300 Win Mag, make sure the scope is rated for it. Cheaper units can fail fast on heavy-recoiling rifles. Onboard Recording A lot of modern thermal scopes include Wi-Fi connectivity and onboard video recording. Great for reviewing your shot, sharing footage, or just having a record of the hunt. Not essential, but a nice feature if the price is right. The Best Thermal Scope Options: What Category Fits You? Rather than just listing a bunch of specs, let me break it down by use case. For Serious Night Hunters Who Want the Best Thermal Scope Available If budget isn’t really a concern and you want top-tier performance, you’re looking at units with 640×480 resolution sensors, long detection ranges (over 1,500 meters), crisp image quality, and durability that handles rough field conditions. These are the scopes that professionals and serious hunters use season after season without issues. They’re not cheap. But they also don’t fail when it counts. For the Hunter on a Practical Budget Mid-range thermal scopes have gotten very good. You can spend $1,200–$2,000 and get a scope with solid 384×288 resolution, good refresh rates, and reliable performance out to 400–600 yards. For most hunters — especially those doing hog control or predator hunting — this range hits the sweet spot of value and capability. For Entry-Level Use or Scouting There are now thermal scopes under $1,000 that are actually usable. They won’t perform like the high-end units at distance, but for close to mid-range hunting (inside 200 yards), they work. If you’re just getting started with thermal or want to try it before committing to a premium unit, this is a reasonable starting point. Thermal Scope vs. Sniper Scope: Understanding the Difference This comes up a lot, so let’s clear it up. A sniper scope traditionally refers to a high-magnification,
Red Dot Sights: Everything You Need to Know Before You Buy
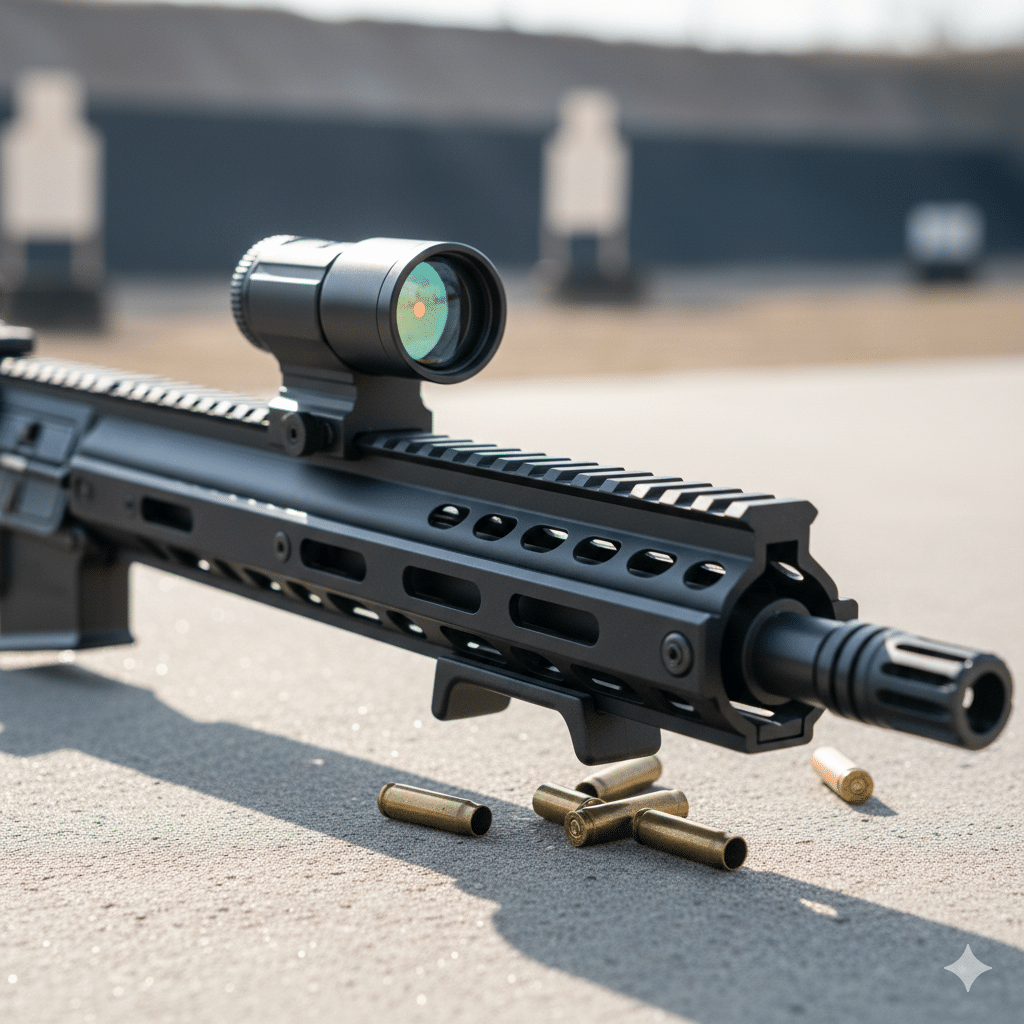
Walk into any gun store today and you’ll notice something. Almost every pistol, rifle, and shotgun on the display wall has one thing in common — a red dot sight sitting on top of it. That’s not a coincidence. Red dots have taken over the shooting world, and for good reason. They’re faster, easier to use, and more accurate in real-world conditions than traditional iron sights for most shooters. But with so many options out there, it’s easy to get confused — especially when you’re trying to figure out the difference between a reflex sight vs red dot, or which unit is actually the best red dot sight for your specific setup. This guide cuts through the noise. No sales fluff, no over-complicated tech speak. Just real, honest information from people who shoot. What Are Red Dot Sights and How Do They Work? A red dot sight is an optical device that projects a small illuminated dot — usually red or green — onto a lens in front of your eye. You look through the sight, place the dot on your target, and shoot. That’s it. There’s no need to line up a front sight post with a rear notch the way you do with iron sights. The dot is always on the same focal plane as your target, which means faster target acquisition and less eye strain, especially in low light or high-stress situations. The dot itself isn’t actually a laser on the glass. It’s a small LED projected onto a curved, coated lens that bounces the light back to your eye. The target, the dot, and everything else are all in focus at the same time — which is a massive advantage over traditional sights where you have to choose between focusing on the front sight or the target. Red dot sights run on batteries. Most modern units from reputable brands will last anywhere from 10,000 to 50,000 hours on a single battery — that’s years of use with the dot always on. Some models use solar panels as a backup power source. Tube-Style Red Dot Sights These look like a short, stubby scope. They have a cylindrical housing with lenses on both ends. They’re durable, offer some protection to the lens, and often have longer eye relief. Common on rifles, shotguns, and carbines. Aimpoint makes some of the most well-known tube-style red dots. Reflex Sights (Open Red Dot Sights) These have an open design — just a lens on a small mount with no tube around it. They’re compact, lightweight, and allow a very wide field of view. Most pistol red dot sights fall into this category because of how slim and low-profile they are. You’ll see these a lot on competition pistols, carry guns, and AR-15 setups where weight matters. Holographic Sights Technically different from a standard red dot — they use a laser transmission hologram instead of a reflected LED dot. The reticle appears to float on the target. Made by companies like EOTech. They’re great but tend to eat batteries faster and cost more. So when people say “reflex sight vs red dot,” they’re usually comparing open reflex-style sights to tube-style red dots. Both use a dot reticle. The difference is the housing design, size, weight, and intended use. For most shooters, the choice comes down to what platform you’re mounting it on and how you plan to use it. Pistol Red Dot Sight: Is It Worth It? A few years ago, putting a red dot on a pistol was mostly a competition shooter thing. Now it’s gone mainstream — concealed carry, duty use, home defense, range shooting. Everybody’s doing it. And honestly? There’s a reason for that. The Real Advantages of a Pistol Red Dot Sight Faster target acquisition. With iron sights, you’re trying to align two separate planes — rear sight, front sight, target. With a dot, you just put the dot where you want the bullet to go. Under stress or time pressure, this difference is significant. Better accuracy at distance. Handguns become much more capable at 25, 50, even 100 yards when you’re using a red dot instead of iron sights. The dot makes it obvious when you’re moving or anticipating the shot, which actually helps you improve your technique. Works better in low light. Iron sights disappear in low light conditions. A pistol red dot sight with adjustable brightness works well in everything from bright daylight to near-darkness. For home defense, this matters a lot. Easier for people with vision issues. If you struggle to focus on a front sight post clearly, a red dot changes the game completely. Older shooters especially find the transition dramatically improves their accuracy. The Real Advantages of a Pistol Red Dot Sight Not every pistol is optics-ready straight from the factory. Some require milling the slide to accept a specific footprint. Others have pre-cut slides or come with adapter plates. Before you buy a pistol red dot sight, make sure it’s compatible with your specific handgun model and that you understand what mounting solution you need. Also — get a mounting plate or direct mount that holds zero. A pistol red dot takes a beating every time you fire because the slide is cycling back and forth under recoil. Cheap mounts will shift. Buy quality here and don’t cut corners. What Makes the Best Red Dot Sight? “Best” depends heavily on what you’re using it for. A dot that’s perfect for a competition shooter might be overkill for someone putting it on a .22 plinker, and the best red dot sight for a duty pistol might not be the right choice for a hunting rifle. That said, here are the qualities that separate good red dot sights from great ones: Glass Quality The lens coating determines how clear and distortion-free your view is. Cheap red dot sights often have a blue or green tint to the glass and a reticle that looks blurry or smeared at the edges. Quality glass is clear,
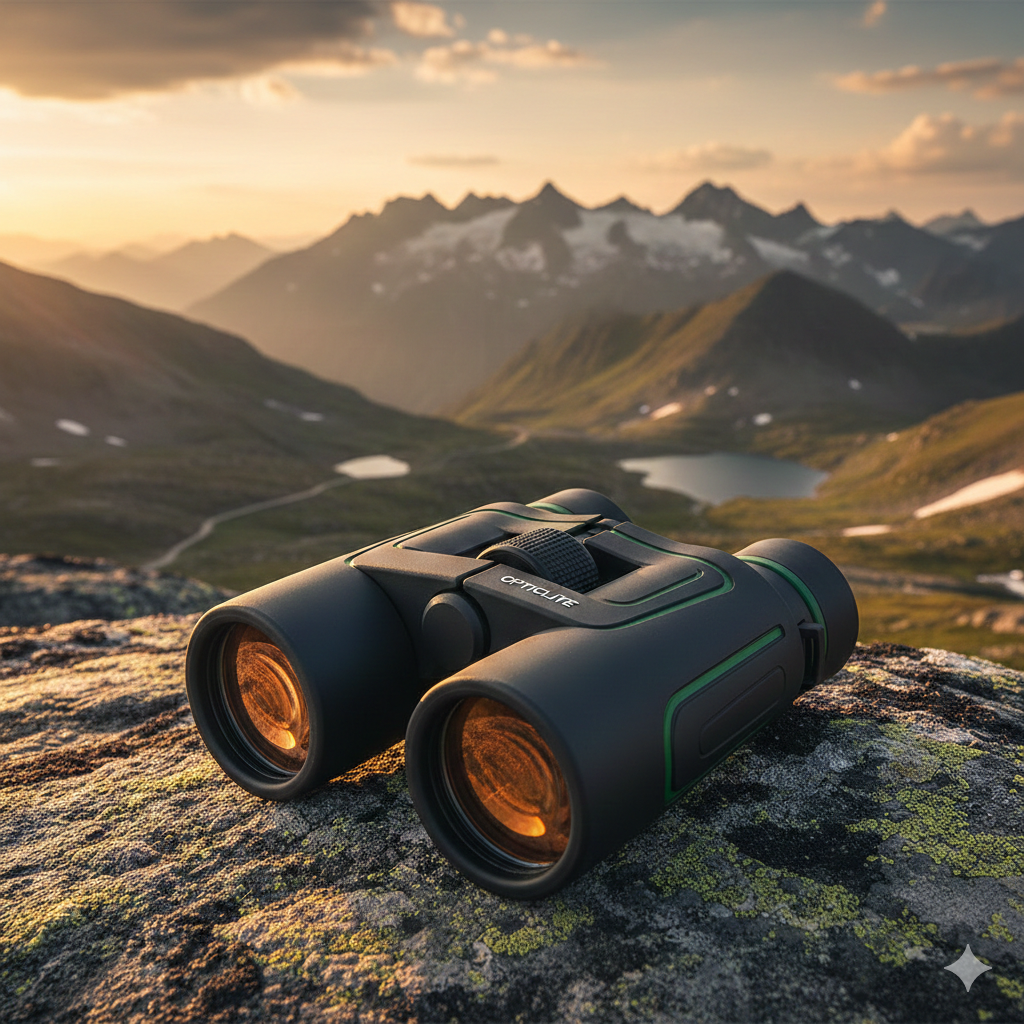
Best Compact Binoculars: What Hunters and Outdoorsmen Actually Need to Know
There’s a moment every hunter knows. You’re glassing a hillside at first light, trying to figure out if that dark shape in the timber is a buck or a stump. Your buddy next to you has cheap binoculars from a big box store. You’ve got a quality pair of best compact binoculars built for exactly this situation. The difference in what you each see in that moment is the difference between a filled tag and a long walk back to camp empty-handed. Binoculars aren’t glamorous gear. Nobody talks about them the way they talk about rifles or bows. But ask any serious hunter what piece of gear they’d give up last, and most of them will tell you it’s their glass. Good optics find game. Everything else just closes the distance. This article is going to walk you through everything that matters — what specs actually mean in the real world, how binoculars range finding works, what separates average hunting binoculars from great ones, and how to find the best binoculars for hunting that fit your style and budget. Why Compact Binoculars Have Gotten So Good Ten years ago, “compact” was almost a dirty word in the optics world. It meant small, lightweight, and compromised — dim images, poor edge clarity, flimsy construction. Serious hunters carried full-size 10×42 or 10×50 glass and dealt with the weight. That’s changed a lot. Lens coatings, glass quality, and optical engineering have improved to the point where the best compact binoculars today can genuinely compete with mid-range full-size binos from a decade ago. You’re not giving up nearly as much as you used to. This matters because compact binoculars are easier to carry all day, lighter in a pack, and more likely to actually be on you when you need them. The best binoculars in the world don’t help if they’re back at camp because you didn’t want to carry them up the mountain. Understanding Binocular Specs — What the Numbers Actually Mean Every pair of binoculars has two numbers on them — something like 8×32 or 10×42. Here’s what those mean in plain English. Magnification (The First Number) The first number is how many times closer the image appears compared to your naked eye. An 8x binocular makes things look 8 times closer. A 10x makes them look 10 times closer. Higher magnification sounds better, but it comes with trade-offs. More magnification means a narrower field of view, more image shake from hand movement, and a dimmer image in low light. For most hunting situations, 8x is the sweet spot — enough magnification to see detail at distance, but stable enough to hold steady without a tripod. 10x is great for open country western hunting where you’re glassing long distances. 8x is better for timber, hills, and situations where you’re moving a lot. Objective Lens Diameter (The Second Number) The second number is the diameter of the front lenses in millimeters. Bigger lenses gather more light, which means brighter images — especially important at dawn and dusk when game is most active and light is lowest. For compact binoculars, you’ll typically see 25mm to 32mm objective lenses. Full-size hunting binos usually run 42mm to 50mm. The trade-off is weight and size. An 8×32 compact pair gives you a solid balance of light gathering and portability. For pure low-light performance, a 10×42 full-size wins — but you’ll feel that extra weight by mile four. Exit Pupil This is the diameter of the light beam that actually reaches your eye. You calculate it by dividing the objective lens size by the magnification. An 8×32 has a 4mm exit pupil. A 10×50 has a 5mm exit pupil. Your eye’s pupil dilates to about 5–7mm in low light and contracts to 2–3mm in bright daylight. A larger exit pupil means a brighter image in low light conditions. For hunting at first and last light, this matters — it’s one reason serious hunters often choose larger objective lenses. Binoculars Range Finding: A Game Changer for Hunters One of the most useful upgrades in modern hunting optics is built-in rangefinding capability. Binoculars range finding technology puts a laser rangefinder directly inside the binocular housing — so you’re ranging targets through the same optic you’re using to glass with. This sounds like a small convenience. In practice, it changes how you hunt. Why Rangefinding Binoculars Matter With traditional setup, you glass with your binoculars, spot an animal, then switch to a separate handheld rangefinder to get the distance, then switch back to glass. Every time you switch devices, you risk losing the animal — especially in timber or broken terrain where a deer or elk can disappear in seconds. With binoculars range finding built in, you glass and range in one fluid motion. You see the buck, you hold the range button, and you have the distance without ever moving the glass off the animal. For bowhunters especially, where distance judgment is critical, this is a serious advantage. What to Look for in Rangefinding Binoculars Maximum ranging distance — Look for units that can reliably range deer-sized targets at 600–800 yards minimum. Premium units can range out to 1,500 yards or more on reflective targets. Angle compensation — If you’re hunting mountains or shooting from elevated positions, you need angle-compensated ranging. A shot that’s 400 yards away but steeply downhill plays like a much shorter shot ballistically. Good rangefinding binos calculate the actual shooting distance, not just the straight-line distance. Ranging speed — The time between pressing the button and getting a reading matters when an animal is about to step back into cover. Fast ranging units respond in under a second. Display clarity — The range reading should be easy to read in bright sunlight and low light without washing out or being hard to find in the field of view. Hunting Binoculars: What Makes Them Different from Regular Binos Not all binoculars are built the same. A pair designed for birdwatching or a day at the races